
There are few things more frustrating than realizing your mini-split air conditioning system is leaking from the indoor unit. Not only does this affect the comfort of your home, but no one wants to deal with water damage.
Luckily, this is likely an easy fix that you can pull off with a little AC know-how. Read on to learn why your mini split AC is leaking and how an eight-step guide to fix it. If you’re still having problems, or aren’t much of a do-it-yourselfer, simply reach out to Sansone for help with your air conditioning in West Palm Beach!
Why Water Is Leaking From Your Mini Split AC
There are a few reasons why the indoor unit of your mini split AC is leaking. The most common reason for a leak is that the drainage pipe is blocked.
The drainage pipe collections the condensation runoff and moves it to the outside of your home. When the drainage pipe becomes clogged, the condensation runoff will backup and wind up on your floor.
How to Solve Water Leaking From a Mini Split AC in 8 Easy Steps
Fortunately, if there is a clog in your drainage pipe, there is an easy way you can fix it with minimal time and effort.
Materials:
- Phillips head screwdriver
- Electrical tape
- Bucket
- Vacuum with a hose attachment
Directions:
Step 1. Turn your air conditioner off
Before you can address the clog, make sure your air conditioner is turned off.
Step 2. Remove the filters
Next, open the front panel and remove the filters. If you notice the filter are dirty, now is a good time to vacuum them or wipe away excess dust.
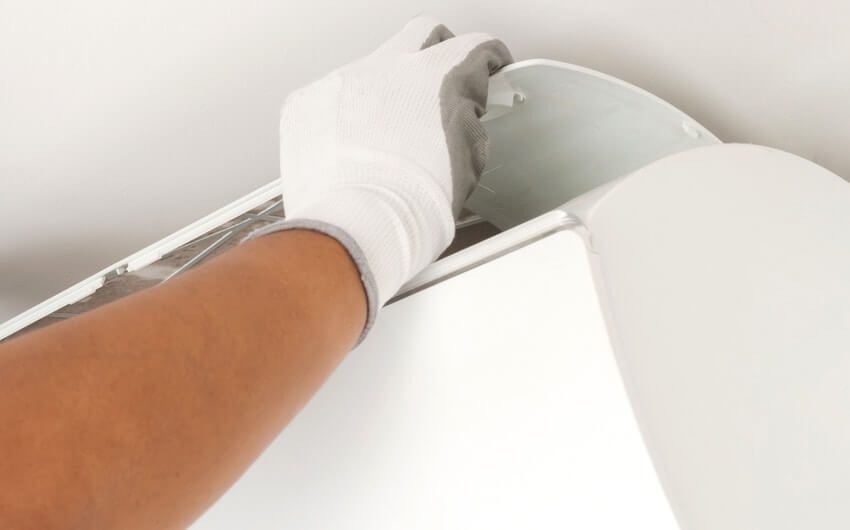
Step 3. Remove the plastic cover
While mini split air conditioners differ by make and model, most allow you to easily remove the front panel by removing a pair of screws. These typically require a Phillips head screwdriver for removal. Remove the plastic cover and set it aside in a safe area.
Step 4. Locate the drainage pipe
Inside the AC unit will be two plastic snaps. Pressing these will allow you to lift the bottom of the unit up so you can access the drainage pipe. Your drainage pipe is the largest pipe of the bunch and will likely be sealed together with grip tape on the outside of the pipe itself. Remove all of the tape.
Step 5. Grab a bucket and drain the pipes
Next, you will remove the joint that holds the drainage pipe together, but first, you’ll want to grab your bucket to catch any excess water. With your bucket in place, allow both sides of the pipe to drain.
Step 6. Vacuum the excess dust
Once the pipe stopped draining, taking the hose of your vacuum cleaning the vacuum the excess debris within the pipes. Since the blockage will be wet, it’s a good idea to use a wet vac if possible. Vacuum until the blockage is removed.
Step 7. Seal the joint back together
Reseal the joint with electrical tape.
Step 8. Reassemble your air conditioner
At this point, the blockage is clean and your drainage pipe has been resealed. Now all that’s left for you to do is to reassemble your unit.
Need Help? Call Sansone for AC Service in West Palm Beach & Beyond
If your mini split air conditioning system is leaking water and you can’t figure out why – or if you’d rather leave it to the professionals, Sansone Air Conditioning is here to help.
Our reliable air conditioning repair in West Palm Beach and the surrounding South Florida area will get your AC working efficiently again fast. Reach out to us today for help in an area near you!